
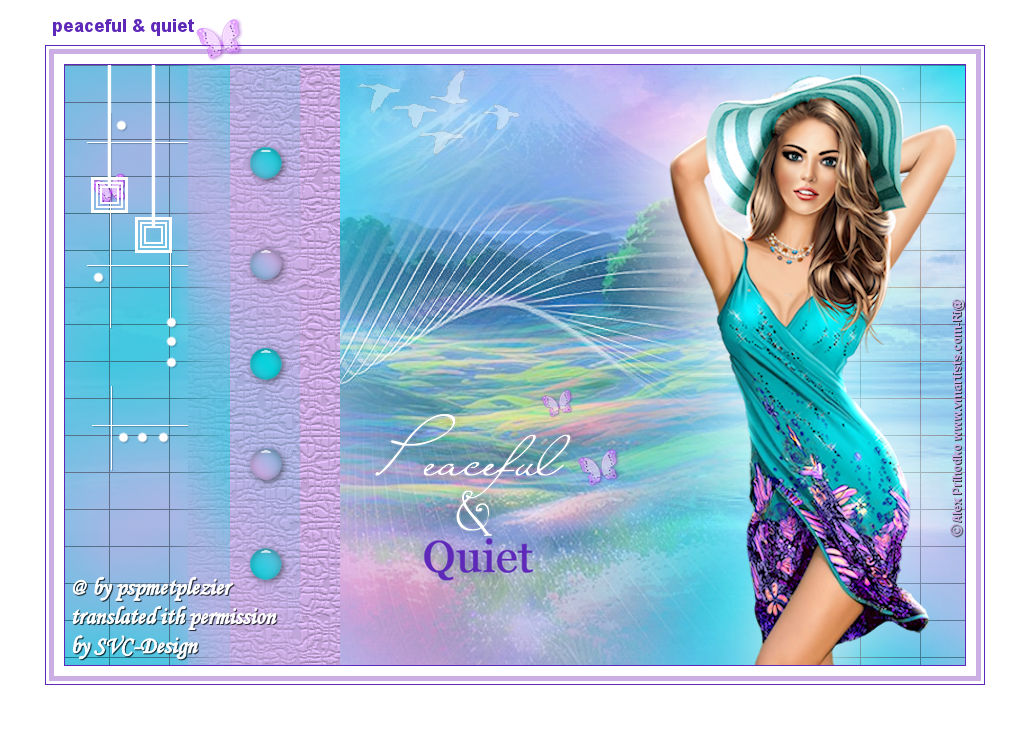
This lesson is made with PSPX9
But is good with other versions.
© by SvC-Design
Materialen Download :
Here
******************************************************************
Materials:
alfa.pspimage
background.jpg
birds.png
deco-1-252.png
deco-2-252.png
kleuren-252.jpg
Narah_Mask_1301.jpg
Peaceful and quiet - Ri@.png
Ri@-glass-peaceful.f1s
tekst-252-Ri@.png
tekst-252-Ri@-2.png
******************************************************************
Plugin:
Effects - Plugins - Unlimited - Toadies - what are you?
Effects - Plugins - Unlimited - Toadies - Ommadawn
Effects - Plugins - Alien Skin - Eye Candy 5 - Impact - glass
Effects - Plugins - Texture - Mosaic Tiles.
******************************************************************
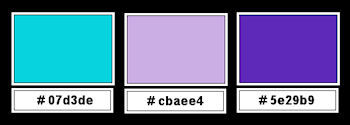
color palette
:
******************************************************************
methode
When using other tubes and colors, the mixing mode and / or layer coverage may differ
******************************************************************
General Preparations:
First install your filters for your PSP!
Masks: Save to your mask folder in PSP, unless noted otherwise
Texture & Pattern: Save to your Texture Folder in PSP
Selections: Save to your folder Selections in PSP
Open your tubes in PSP
******************************************************************
We will start - Have fun!
Remember to save your work on a regular basis
******************************************************************
1.
Foreground color # 07d3de
Background color # cbaee4
Extra color 5e29b9
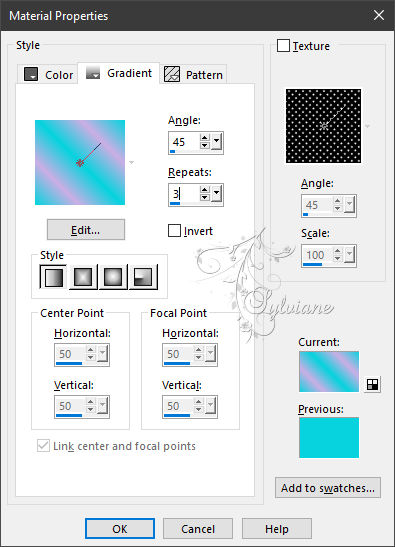
Set the foreground to the gradient with the setting below.
2.
Open the alpha sheet in PSP.
Window - duplicate.
Close the original.
We are working on the duplicate
Fill the image with the gradient.
Adjust blur - gaussian blur
range 20.
3.
Open background.jpg
Edit - copy.
Back to your image.
Layers - new raster layer.
Selections - select all.
Edit - paste into selection.
Selection - Select None
Do not close background yet, we still need it for the mask!
Layers - new mask layer from image - open the mask (image)
Background - do not invert.
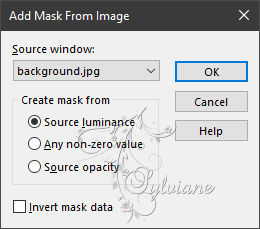
Layers - merge - merge group.
Effects - Edge Effects - Enhance
Blend mode - overlay.
4.
Open the tube Peaceful and quiet - Ri@.
Edit - copy.
Back to your image.
Edit - paste as a new layer.
Looks good right away.
5.
Layers - new raster layer.
Fill the layer with the color white.
Layers - New Mask Layer - From Image -
Narah_Mask_1301 - do not invert.
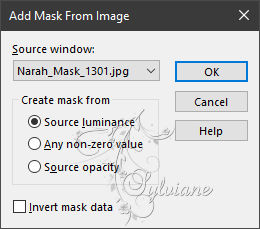
Layers - merge - merge group.
Blend mode – Screen
6.
Open the tube birds.
Edit - copy.
Back to your image.
Edit - paste as a new layer.
Effects - Image Effects - Offset
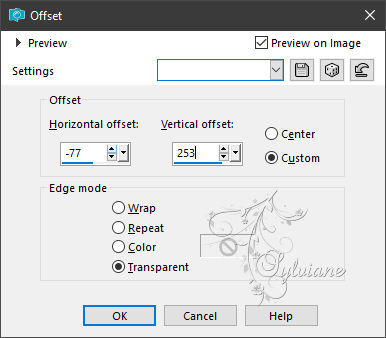
Layer opacity 42.
7.
Layers - new raster layer.
Selections - Load/Save - load selection from alpha channel - open selection 1.
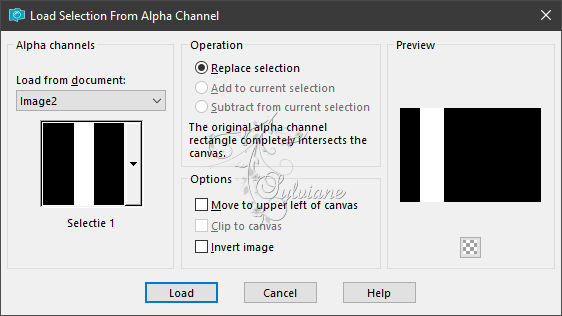
Flood fill the layer with the background color.
Effects - Plugins - Texture - Mosaic Tiles.
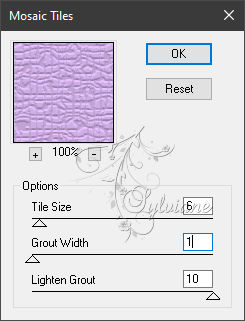
Selection - Select None
8.
Layers - new raster layer.
Selections - Load/Save - load selection from alpha channel - open selection 2.
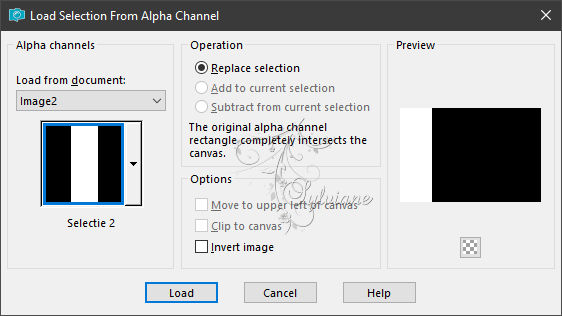
Fill the selection with the gradient.
Selections - select nothing.
Effects - Plugins - Unlimited - Toadies - what are you? - Default.
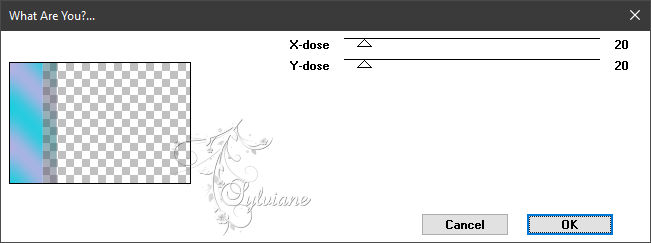
opacity :70.
9.
Layers - new raster layer.
Selections - Load/Save - load selection from alpha channel - open selection 3.

Flood fill the selection with the gradient.
Selection - Select None
Effects - Plugins - Unlimited - Toadies - Ommadawn.
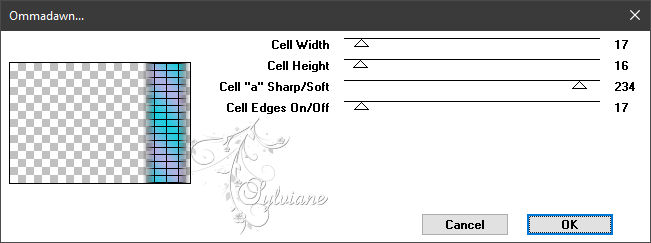
Effects - Image Effects - Offset
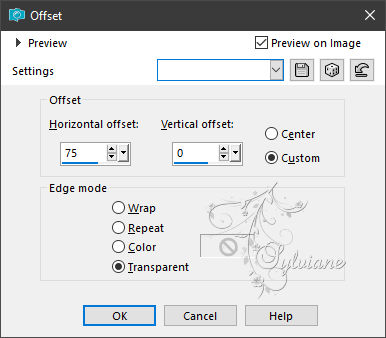
Layer opacity 40.
Layers - duplicate.
Image - Mirror – mirror Horizontal
Layers - merge - merge down.
10.
Selections - Load/Save - load selection from alpha channel - open selection 4.
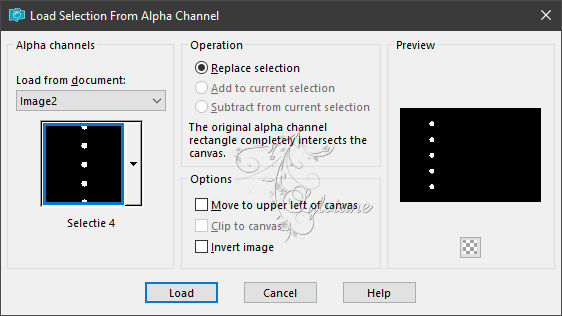
Layers - new raster layer.
Flood fill the selection with the gradient.
Effects - Plugins - Alien Skin - Eye Candy 5 - Impact - glass.
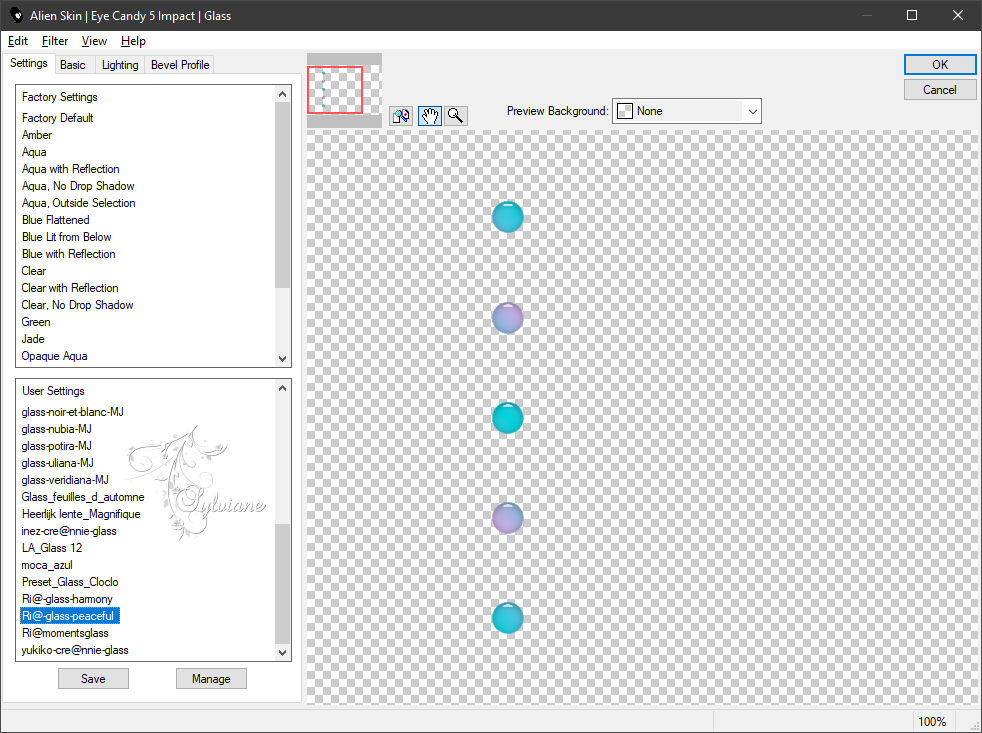
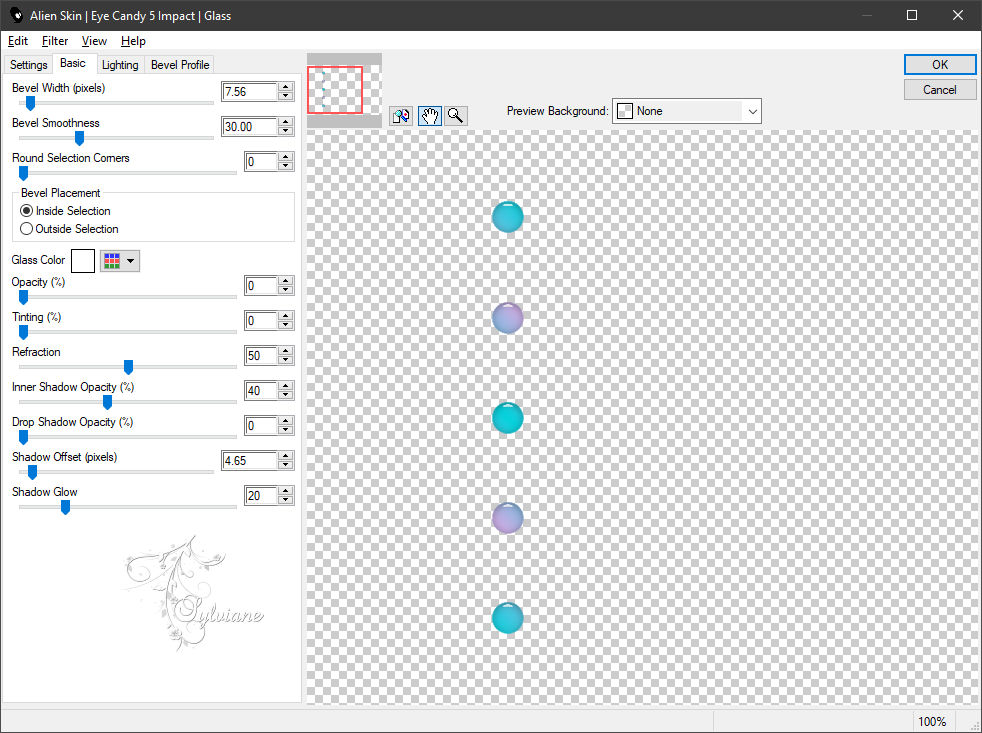
Open at settings Ri@-peaceful 252 - ok.
Selection - Select None
Effects - 3D Effects - drop shadow.
2/2/50/10 - color black.
11.
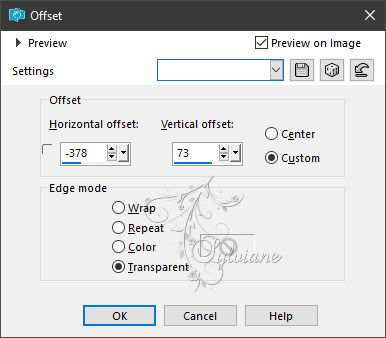
Open the tube deco-1-252.
Edit - copy.
Back to your image.
Edit - paste as a new layer.
Effects - Image Effects - Offset
12.
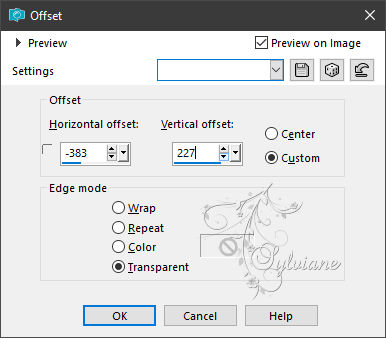
Open the tube deco-2-252.
Edit - copy.
Back to your image.
Edit - paste as a new layer.
Effects - image effects - offset.
13.
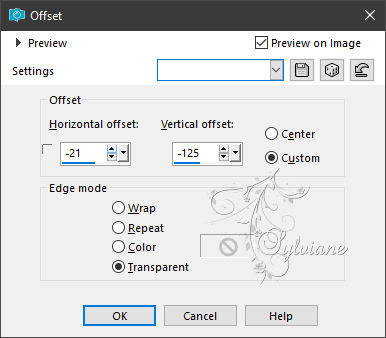
Open the tube text-252-Ri@.
Edit - copy.
Back to your image.
Edit - paste as a new layer.
Effects - image effects - offset.
14.
Open the tube you have chosen yourself.
Edit - copy.
Back to your image.
Edit - paste as a new layer.
Place the tube right at the bottom.
Layers - duplicate.
Adjust - blur - gaussian blur - range 40.
Blend mode - Screen
Layers - arrange - move down.
Layers - merge - merge all layers.
15.
Image - Add Borders – Symmetric - 1 pixel - color 5e29b9.
Image - Add Borders – Symmetric -10 pixels - color white.
Image - Add Borders – Symmetric -5 pixels - background color.
Image - Add Borders – Symmetric - 3 pixels - color white.
Image - Add Borders – Symmetric -1 pixel - color 5e29b9.
Image - Add Borders – Symmetric - 45 pixels - color white.
16.
Open the tube text-252-Ri@-2.
Edit - copy.
Back to your image.
Edit - paste as a new layer.
Place the tube on top in the light border - like my example.
17.
Place your name or watermark.
Layers - merge - merge all layers.
Image - resize - 900 pixels - longest sides.
Save as JPEG
Back
Copyright Translation 2024 by SvC-Design
------------------------------------------------------------------------------
Thanks to all who created